Use the following procedure to prepare the Marketing dataset and create an analysis. If you don’t see the Web and Social Media Analytics sample data already in Amazon QuickSight, you can download it: web-and-social-analytics.csv.zip.
To prepare the Marketing dataset and create an analysis
1. On the Amazon QuickSight start page, choose Datasets at left.
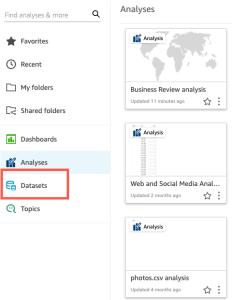
2. On the Datasets page, choose New dataset.

3. In the FROM EXISTING DATA SOURCES section of the Create a Data Set page, choose the Web and Social Media Analytics Amazon S3 data source and then choose Edit dataset.
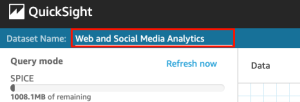
4. For Dataset Name, enter Marketing Sample to replace Web and Social Media Analytics for the dataset name.
5. Exclude some fields from the dataset.
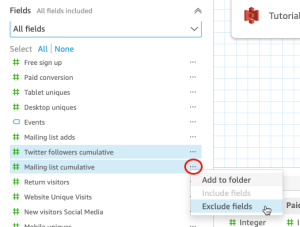
In the Fields pane, choose the field menu for the Twitter followers cumulative and Mailing list cumulative fields, and then choose Exclude field.To select more than one field at a time, press the Ctrl key while you select (Command key on Mac).
6. Rename a field.
In the Dataset preview pane, scroll to the Website Pageviews field and choose the edit icon.
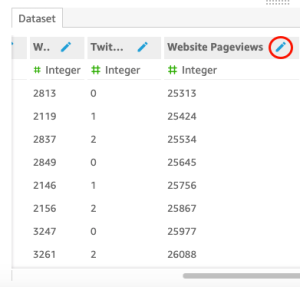
In the Edit field page that opens, for Name, enter Website page views, and then choose Apply.
7. Add a calculated field that substitutes a text string for any 0-length string value in the Events field:
- On the data preparation page, scroll to the top of the Fields pane, and then choose Add calculated field.
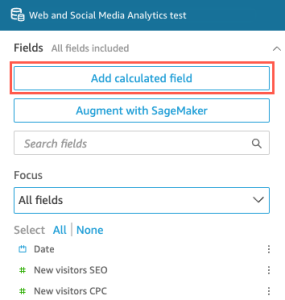
- In the Add calculated field page that opens, for Add name, enter populated_event.
- In the Functions pane at right, double-click the ifelse function from the list of functions. This adds the function to the calculated field formula.
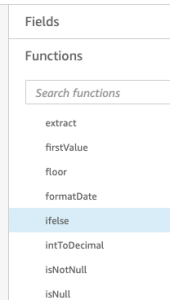
- Expand the Field list pane by choosing the drop-down arrow, and then double-click the Events field. This adds the field to the calculated field formula.
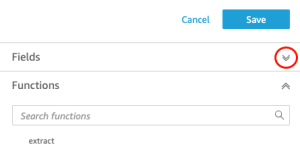
- In formula editor, enter the following additional functions and parameters required, in bold in the following: ifelse(strlen({Events})=0, ‘Unknown’, {Events}).
The final formula should be as follows: ifelse(strlen({Events})=0, ‘Unknown’, {Events}).
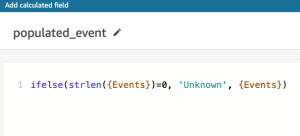
- Choose Save.
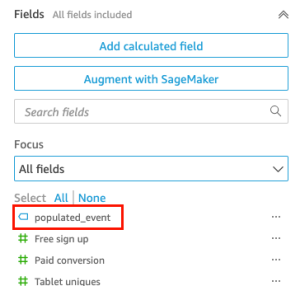
The new calculated field is created, and appears at the top of the Fields pane.
- Choose Save.

Credit to: AWS Documentation


